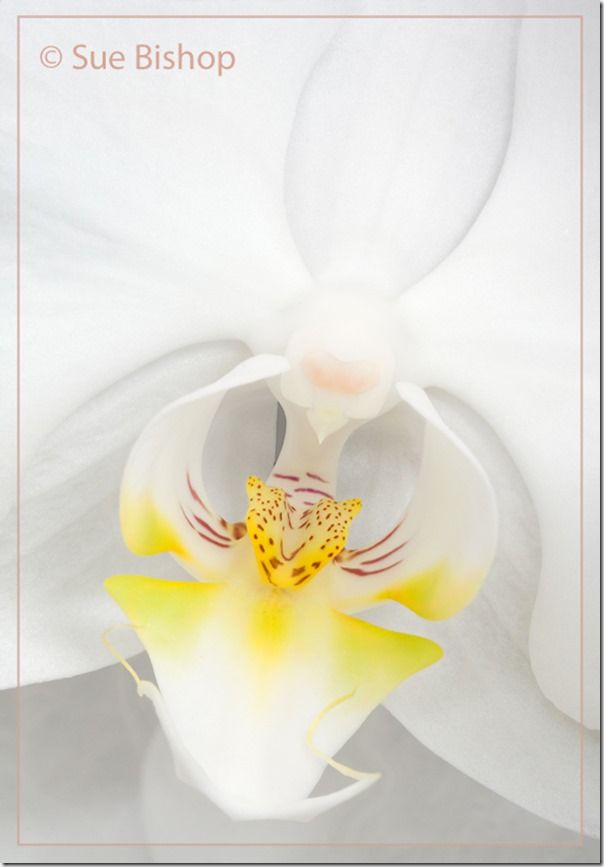
How to get a large depth of field in flower photography using focus stacking.
A few months ago a friend asked me to look after some orchids while she was away on holiday. She brought them round, and I put them in my conservatory, keeping my fingers crossed that I’d be able to keep them looking healthy until she came back.
Needless to say, though, I couldn’t resist having a go at photographing them while they were here!
A close up photograph of an orchid can sometimes pose problems, as there is a surprising amount of depth in the flower head, from the nearest part of the lower central petal right through to the throat of the flower. Even at small apertures, it can be difficult to get sharpness throughout the flower. And although I’m usually a fan of shallow depth of field photographs, in this case I wanted front to back sharpness in the orchid.
It was at about this time that I first bought some focus stacking software called Helicon Focus – so I decided that the orchid would be an excellent subject to try it out on.
I took the photo on a bright overcast day, as I wanted to avoid any direct sunlight hitting the flower – bright sun on white petals will almost certainly result in burnt out highlights. The advantage of working inside the conservatory was that I could use as long a shutter speed as I wanted without worrying about wind movement. I could therefore set the ISO to my camera’s lowest setting, for optimum image quality.
I set my camera up on a tripod and found the composition that I wanted. I was careful to exclude any background around the flower that would introduce a different colour. The area below my chosen flower was filled with the top petal of another flower, which was great – had it been filled with green leaves, for instance, the balance of the photo would have been quite different.
I then took a series of photos of the flower, focusing first on the very nearest part, and then moving the focusing ring slightly between each exposure until I had focused all the way to the back of the flower’s throat.
It’s usually recommended to use your lens’s optimum aperture for this, which is usually around f/5.6 or f/8. There is no limit to the number of shots you can stack, so just carrying on shooting until you’re sure that you’ve covered the depth of focus that you want. I actually combined 15 exposures in this case, although since it was one of my first attempts, I may have been being a bit over-cautious!
I then downloaded the pics to the computer, and left the software to stack the photos while I had a cup of tea!
The software takes the sharpest area of each image and combines them together, giving you a resulting photograph with a very large depth of field.
Once the software had done its bit, I used Levels to bring the white back up to pure white. Using the colour picker, I chose a soft coral colour from the centre of the orchid, and then created a border using that colour. To make a border within the image like this, use the rectangular marquee tool to define where you’d like the border to be (the software will think you are making a selection), and then put a stroke around the selection, using the colour you have chosen.


