We understand that online learning can be a new experience to many. At Learning with experts we aim to make this a simple process for you to understand and thrive in.
Welcome to Learning with experts. You can browse our courses, leave your queries and questions on our community wall or read some inspirational blog posts. Do you want more?
Whether your interested in furthering your learning as a hobby, wanting to study your passion with a more direct focus or to pursue a new career, our courses are for you. In order to purchase a course you would need to join our community.
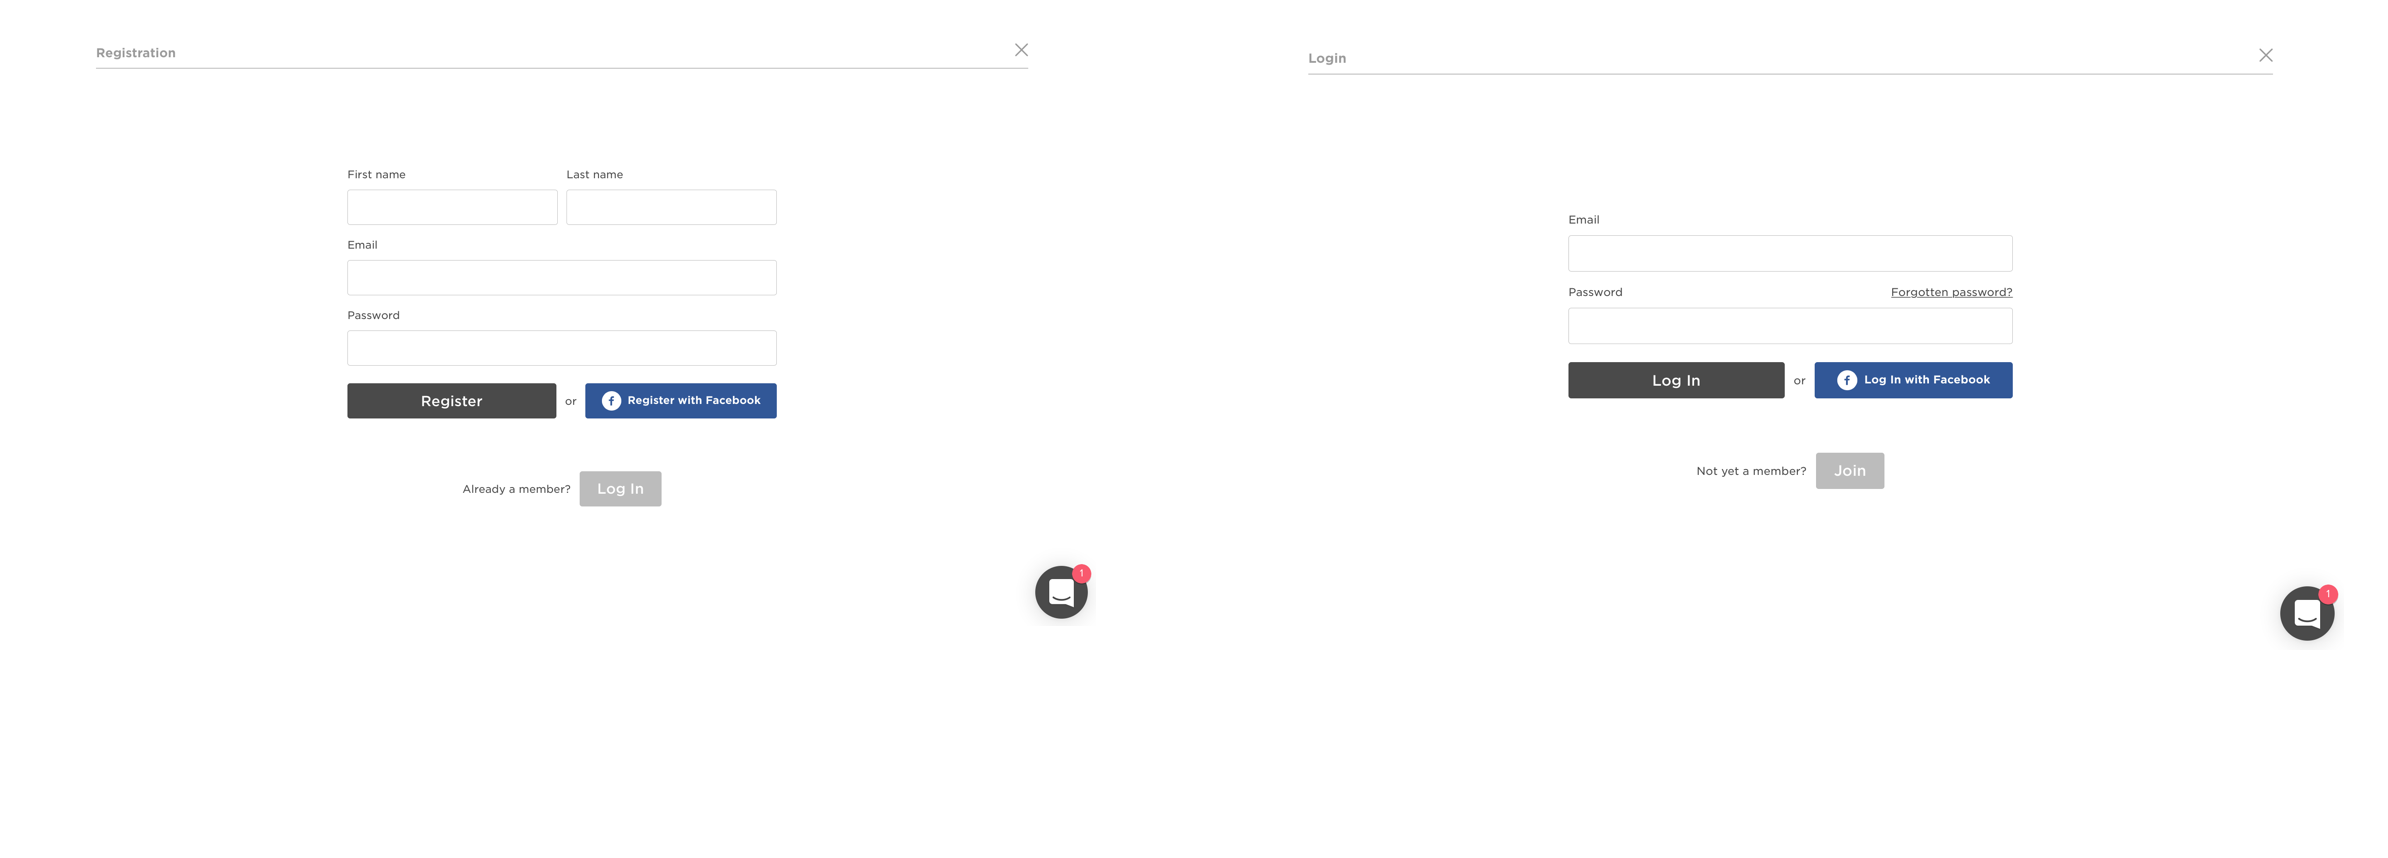
To do so, click ‘Join’ in the right hand corner. This will take you to our join page (left photo) where you are invited to fill in your name and email address. This will finalise your account with us. If you already have an account, click ‘Sign In’ and it will take you to Login (right photo).
Now you have an account with us you can proceed to start your learning. For this guide we have already added a course to our example account so you can see the customer experience from your end. To view your course/s, click on your avatar photo which will lead to this drop down menu. Click 'My Courses'.
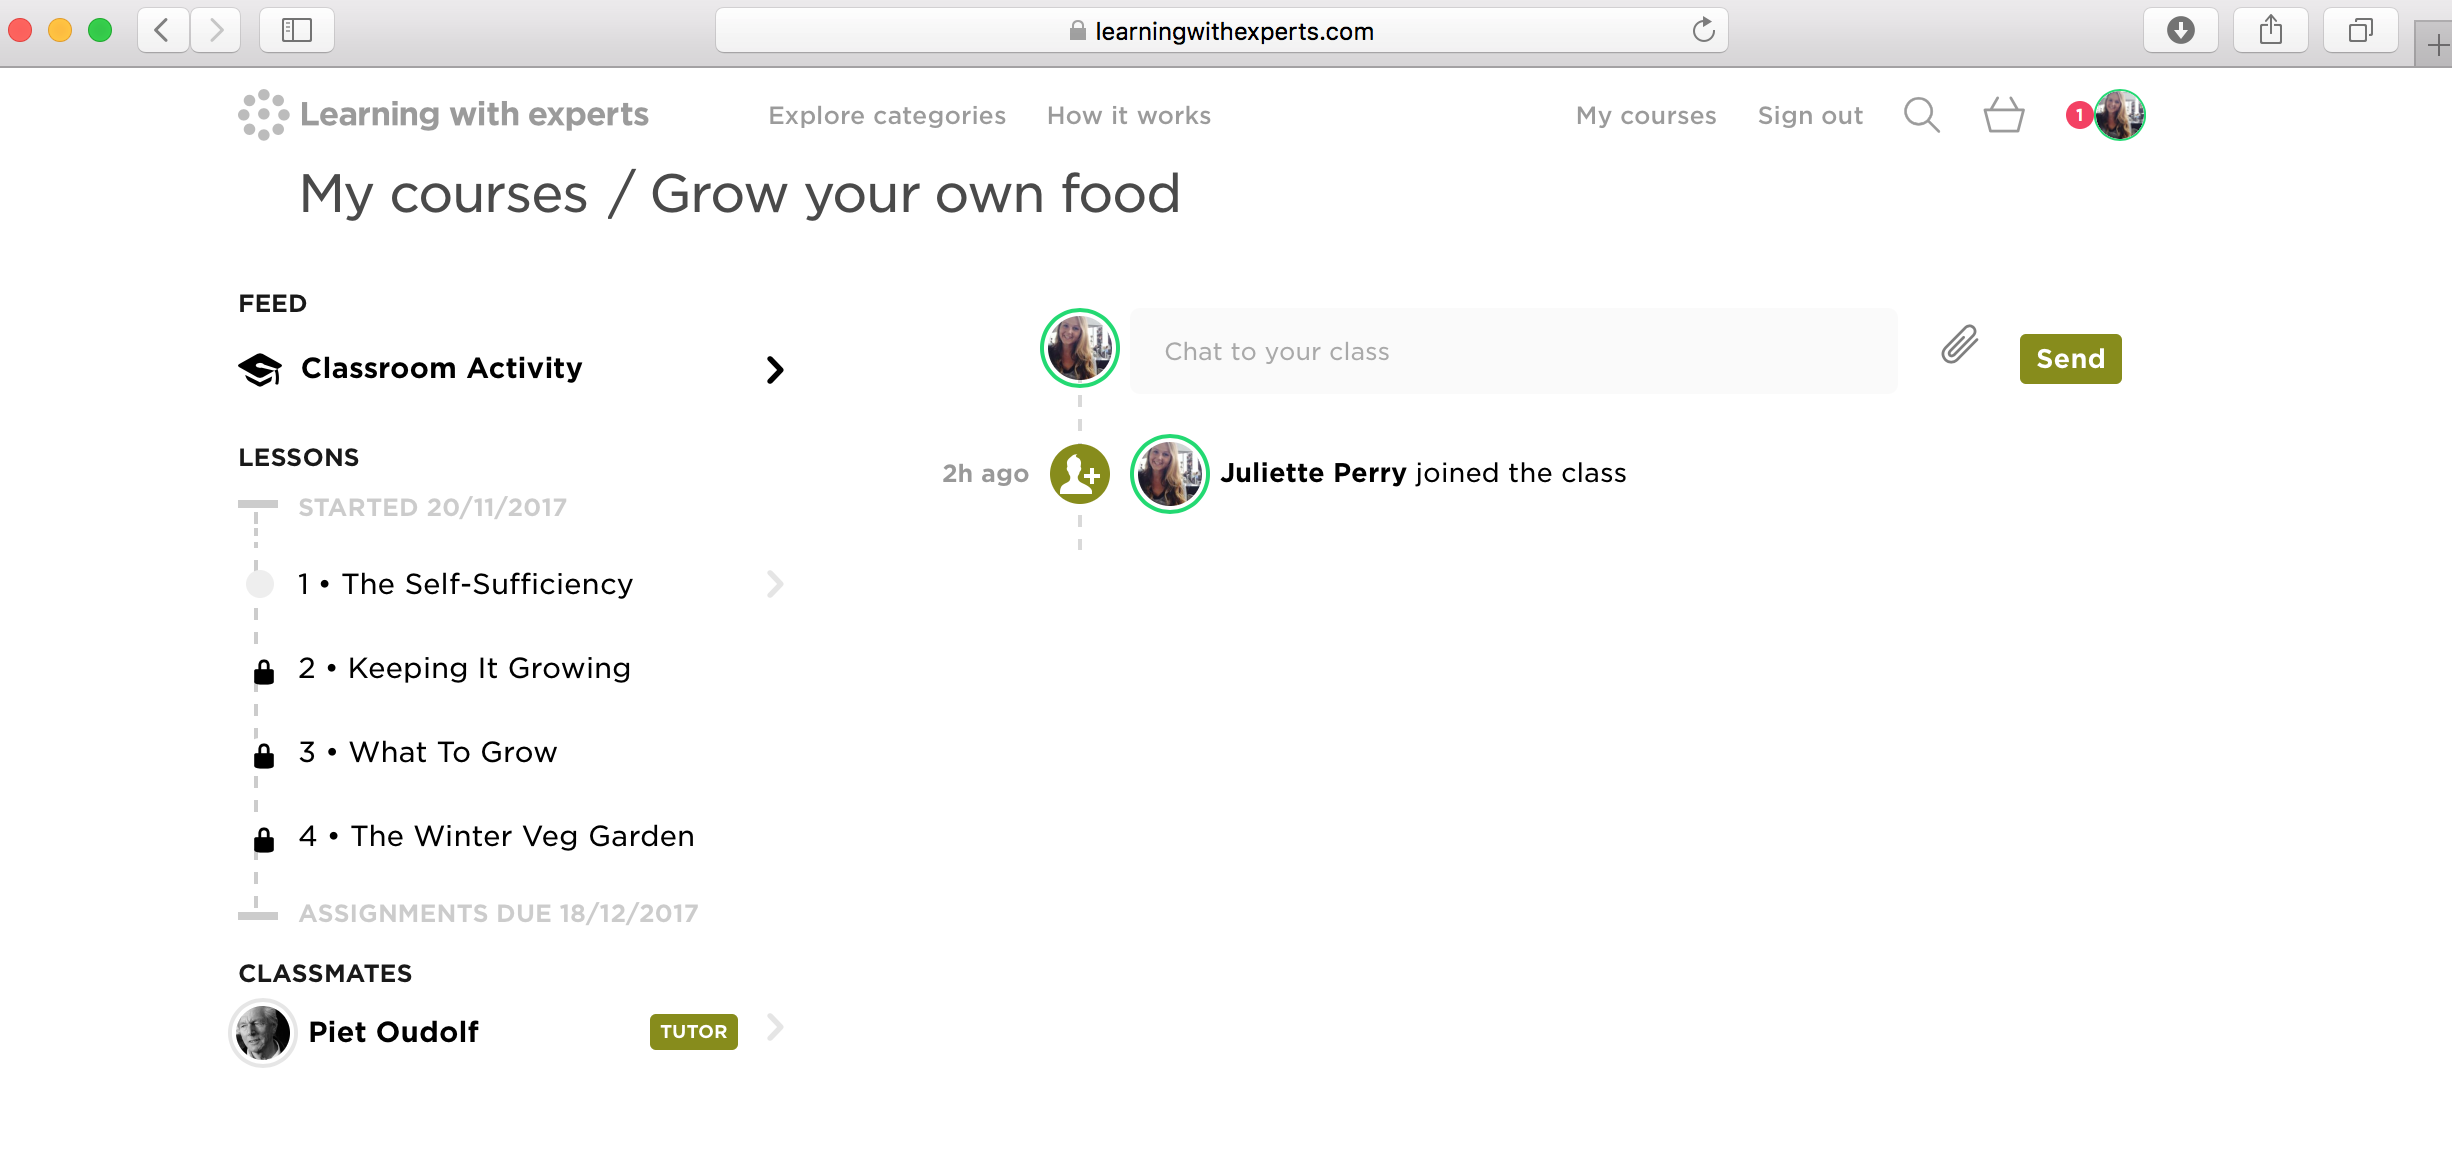
Your following page will look like this, showing the course/s you've purchased. It clearly states your chosen Course name and the duration of the course, including your start date.

You will also notice that your photo avatar will have a green rim around it, this is so you know when your classmates/tutor are also online.
To talk to your tutor or a classmate, simply click on their name in the left hand side panel. This will open up your conversation where you can ask them questions, send photo attachments using the paper clip icon and receive their knowledgeable advice back. If they have sent you a message, you will notified of this by the red icon on your photo avatar (top right hand corner), click on this and your drop down menu will appear. Click on 'Notifications (1)' to view the message.
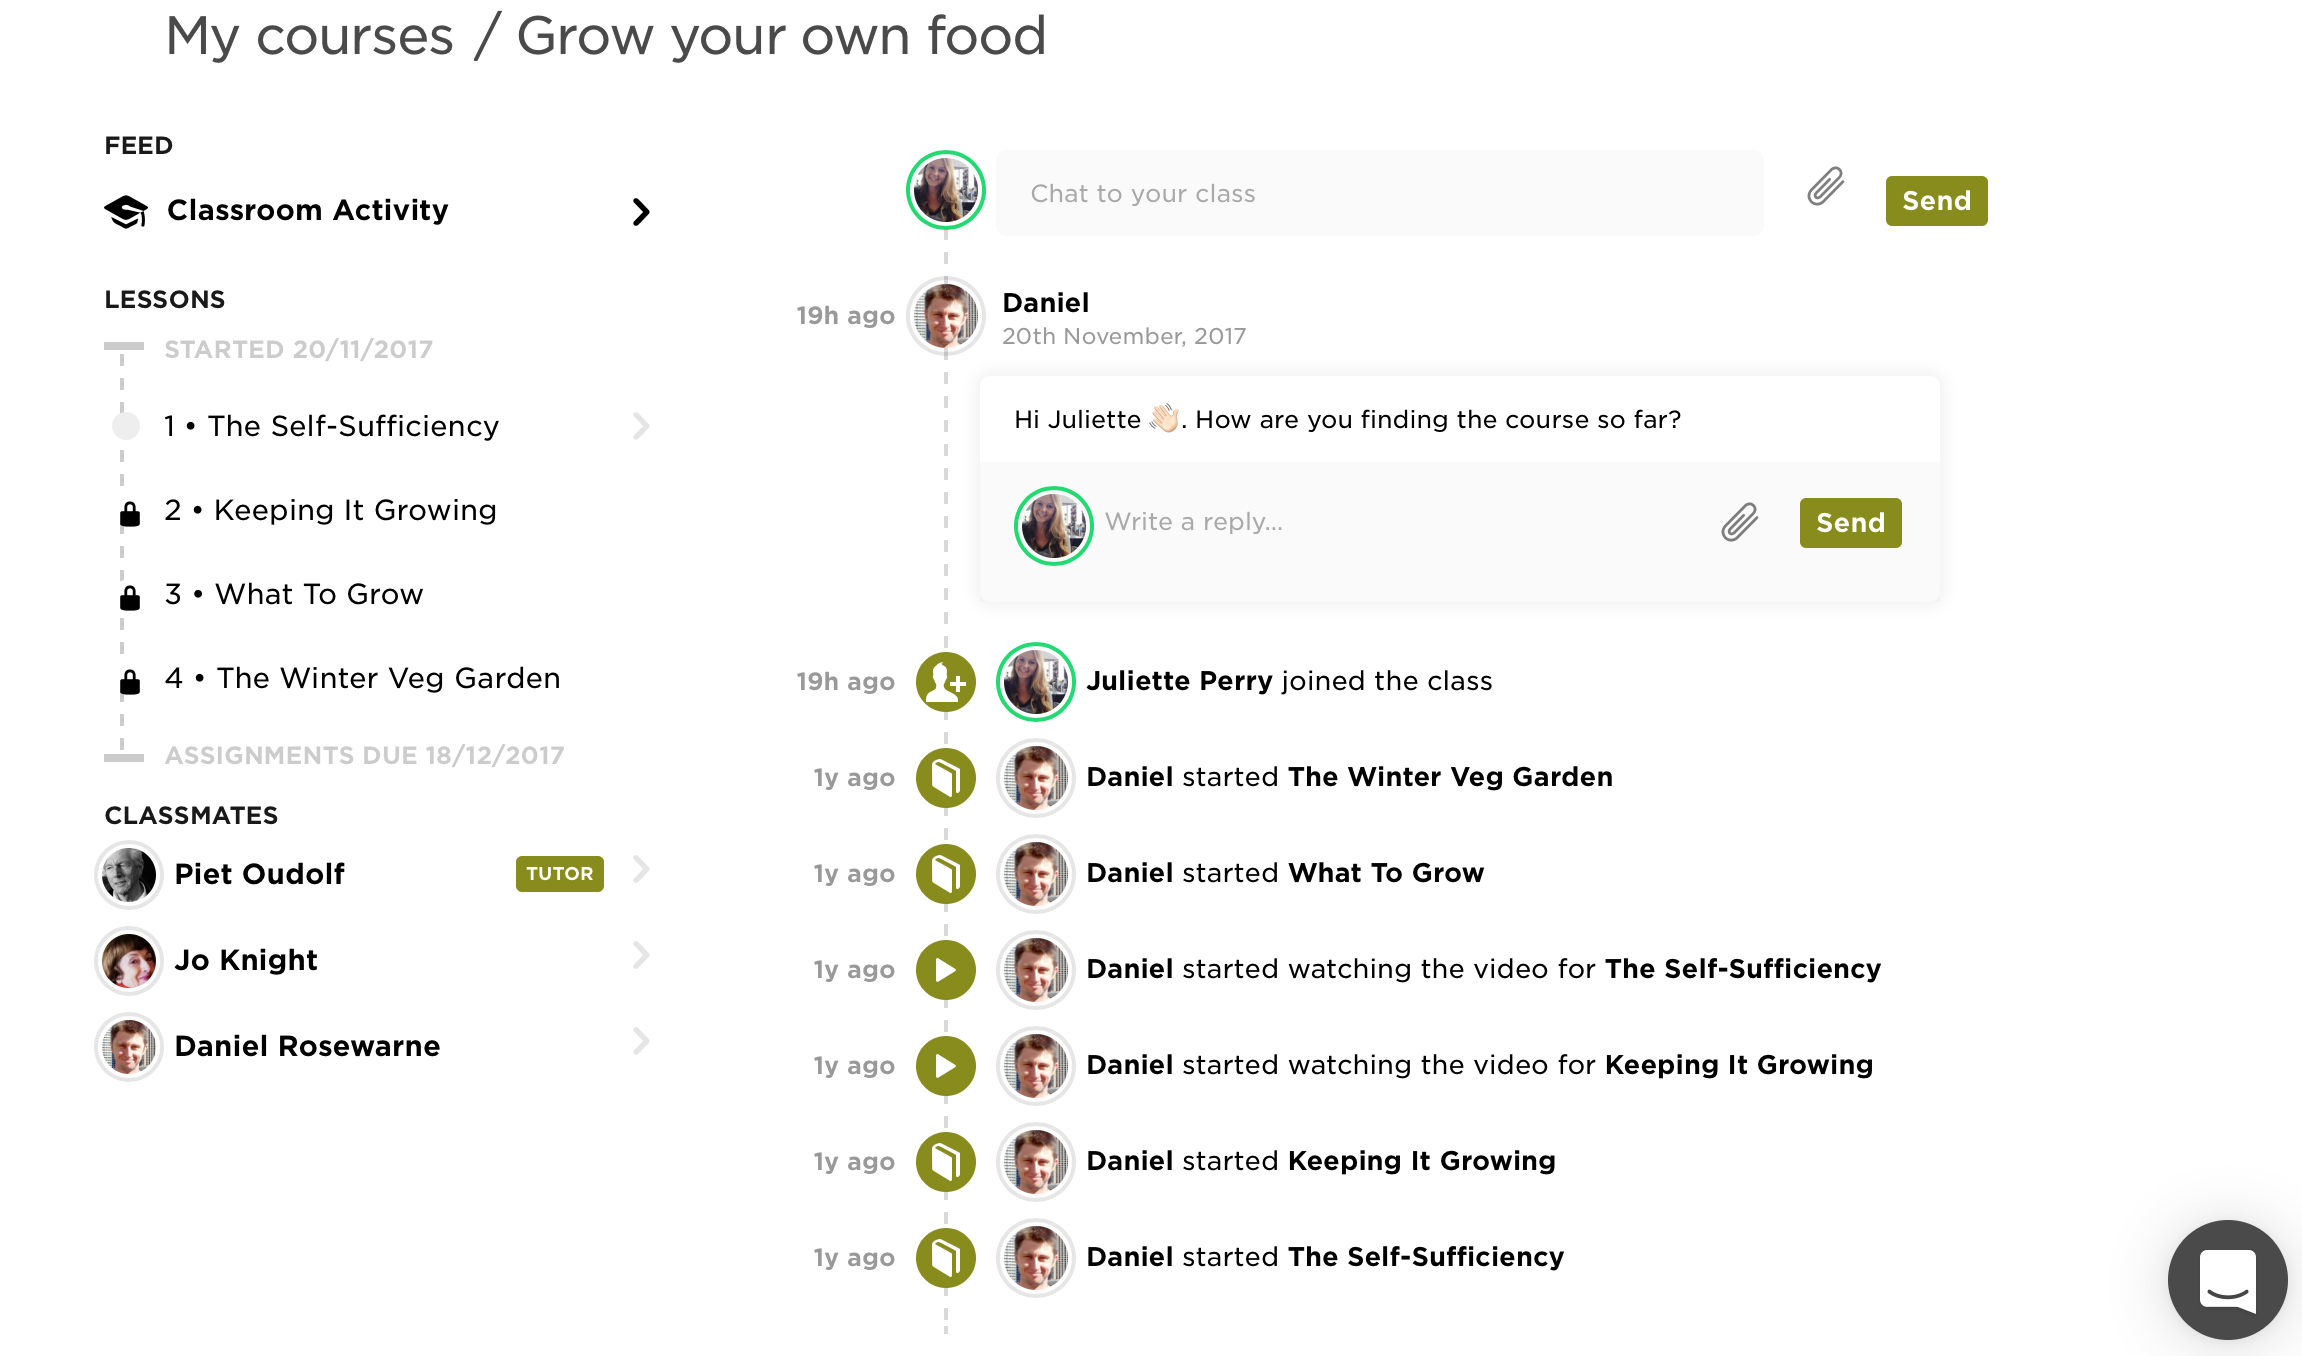
The opportunity you have to learn with like minded people in your classroom is a really valuable experience. You can send each other your assignments, provide each other with constructive feedback and the class room also documents everyones progress (see photo below), encouraging your learning process. It is up to you how much you use this learning feature to your own advantage. Some choose to study independently, others like to work with classmates. The more students that join the classroom (start studying within the same week as you) will be listed on the left hand side column. You can begin a conversation with each other whenever you wish.
Now to begin your learning, click on lesson 1, which will take you to your first video tutorial. You can pause and play this video as you wish, increase the size to full screen and also use your course notes as a reference whilst watching. We provide a PDF format of course notes with every course and recommend you print these of to assist you with your learning.
Below each lessons video will be your assignment waiting for you to begin. A short paragraph explains what is needed for you to complete the assignment. If your classmates have already done theres you can see you have the option to look through for inspiration. In the case of this example (below) none of the other students have done so yet.
Once you choose 'Start Assignment' this window will open (see below). Give your assignment a title, add text (your response to the assignment) and you also have the option to add photos. Adding photos can be very useful when trying to explain your development, you can also name each photo with a short explanation of what your showing.
You can either save your assignment as a draft to continue working on it or submit it to your tutor right away. Both options are in the right hand corner.
Once your assignment has been sent to your tutor you still have the option to go back and add more detail whenever you like. As you can see you have the text box option and also a paper clip, which enables you to add more documents and photos if you wish.
As you progress through your lessons, green tick icons will appear next to the ones you have completed, a clear circle appears next to your following lesson that is now open, and the remaining will have a locked icon next to them.
When you submit an assignment, your tutor is notified of this on their account and they can watch your progress alongside all the other students in the classroom. Using this example (photo on the right) you can see that Jo Knight is yet to submit/begin working on any assignments, Daniel Rosewarne has begun working on his first assignment and Juliette Perry has completed all assignments. The green tick icon means they have been marked by the tutor and the orange ones indicate the assignments the tutor is yet to mark. It also tells them how much longer you have access to the course and whether your on schedule for completion.
When you have completed your course all green tick icons will appear in the left hand side column. If you wish to receive your certificate, contact us via the chat icon in the bottom right hand corner of your screen or email us at ....... We hope you enjoy your learning experience with us and our tutors look forward to welcoming you to their online classroom.


