Video Tutorial with Downloadable Practice Images
This week we look had we correct a series of seven images in Lightroom and then export them into photoshop to create a panorama.
Two useful techniques in this weeks monthly video tutorial, The first in Lightroom when we look at how to correct a series of images for lens distortion and colour enhancement before exporting them into Adobe Photoshop and converting them into a Panorama
The lens correction involves correcting a wonky horizon and some distortion in the framework of the bridge. While the colour enhancement involves the increase in colour saturation to the sky to bring out more of the blue colour.
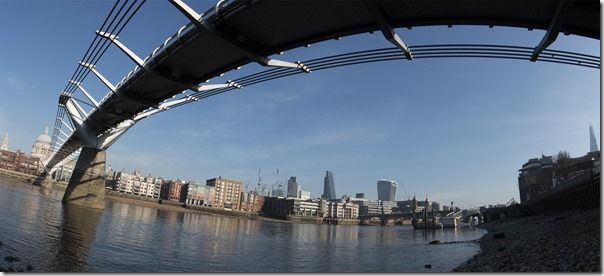
These are important as the image above demonstrate what the panorama would have looked like with out first doing the work in Lightroom. the colour is washed out and the horizon in this case the river edge is all over the place.
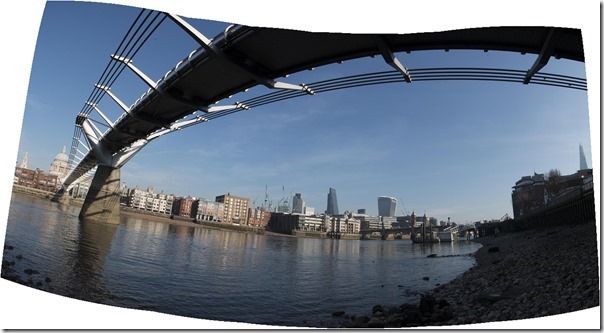
Finally in Photoshop we import the seven modified images and using Photoshop’s photomerge we create a panorama and crop out blanks areas
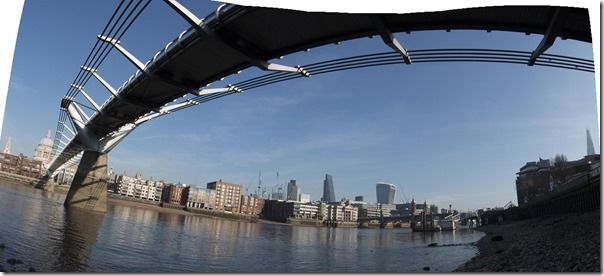
Once the main crop has been carried out use content aware fill to finish off the corners
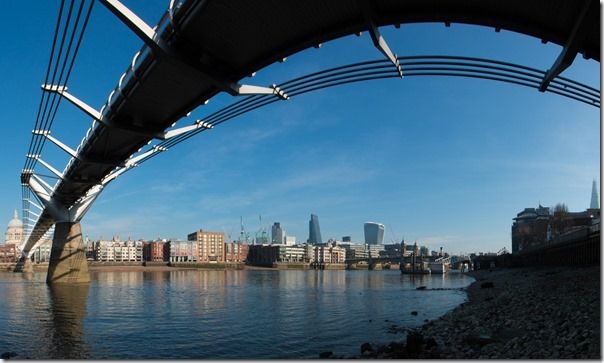
Finally the finished image including the edits in Lightroom to correct the horizon and bring out the colour of the sky
You can download the sample images here if you would like to practice this at home


