
1. First soak your floral foam. If using oasis (green) just float a block, printed side down, on a bowl of water and let it sink. Then cut with a knife to fit your container. I used an old ice cream tub that fitted inside my flowerpot. You could just line the pot with polythene.
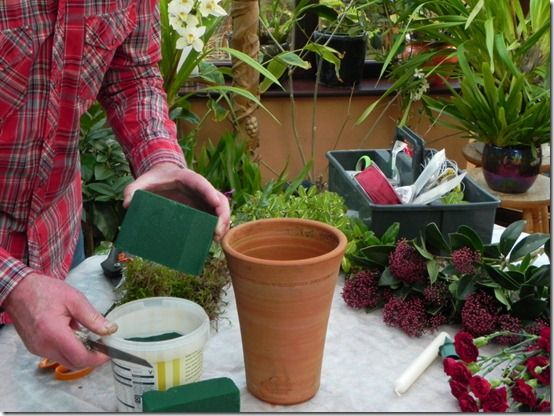
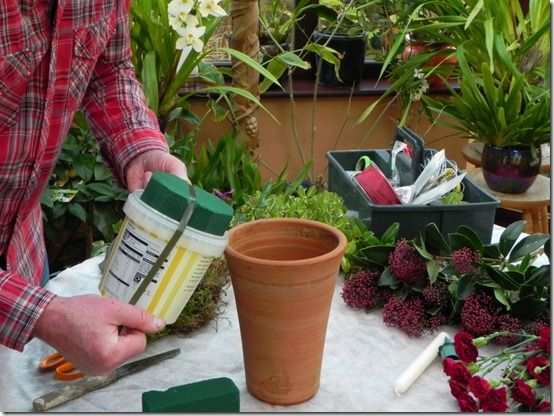
2. Using tape, secure the foam into the inner, if you are using one. The tape is more secure if you take it right round the container and back onto it. Getting the foundation right means that your arrangement will stay put, and won’t fall apart when you move it.
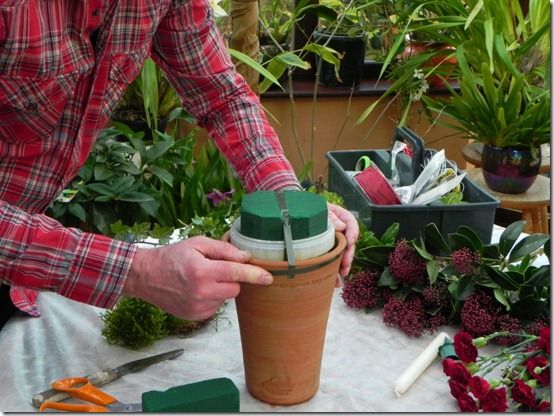
3. Now secure the inner container into the flowerpot. The tape does not stick well onto the rough terracotta, especially if it is damp. So run tape right around the rim of the pot over the ends of the tape that you’ve run over the foam. This will hold it securely.
4. Now hide the tape by running ribbon around the rim of the pot and tying it securely. The slightly wider ribbon with wired edges is ideal for this purpose if you have it.
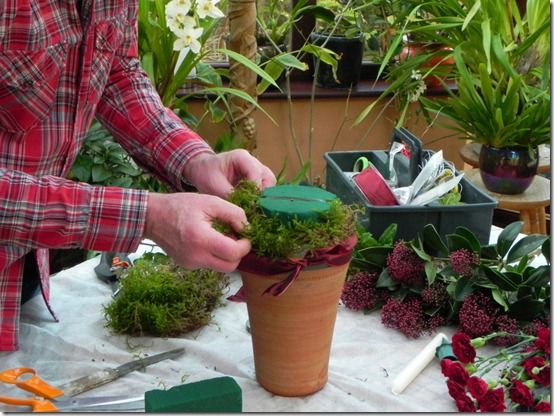
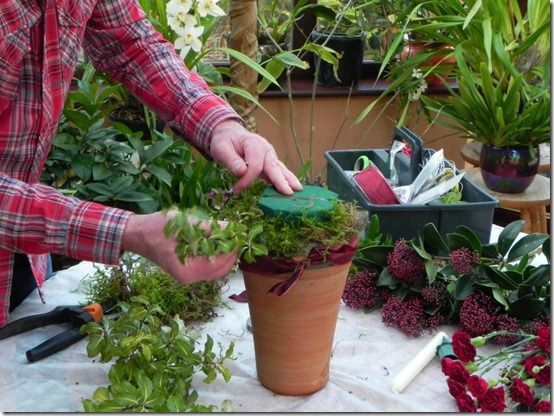
5. As the rim of my container came above the edge of the pot I used a little moss tucked in around it to hide it. This also helps to conceal the side of the oasis. You need to keep an eye on this as you make the arrangement. Don’t forget that people sitting around the table will be looking straight into the sides of your arrangement.

6. Next I added small sprigs of pittosporum foliage. I like this because it has small, shiny leaves. I’m using it to give me the foundation of the arrangement and to cover the foam. Don’t use these first pieces of foliage too long and push them into the foam at an angle which covers the foam and the edge of the pot.
7. Next I put in the candle. I used an oasis candle holder. This makes it easy to change the candle and you don’t lose part of the length of the candle in the foam. It you haven’t got the candleholder you could take cocktail sticks cut in half taped around the base of the candle; anchor it of the foam with those.
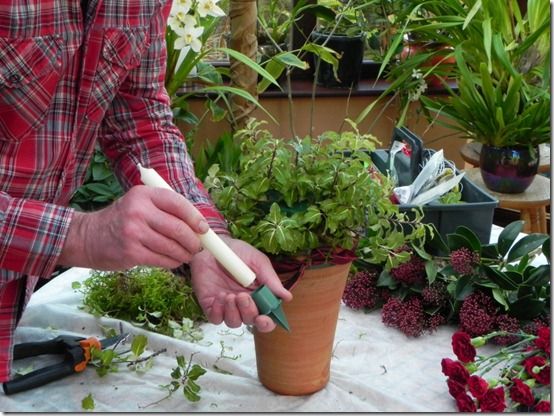
8. Now position the candle in the centre of the arrangement. Use good quality candles that burn well for a long time. I use church candles because they do just that, and they have that nice, soft ivory, translucence.
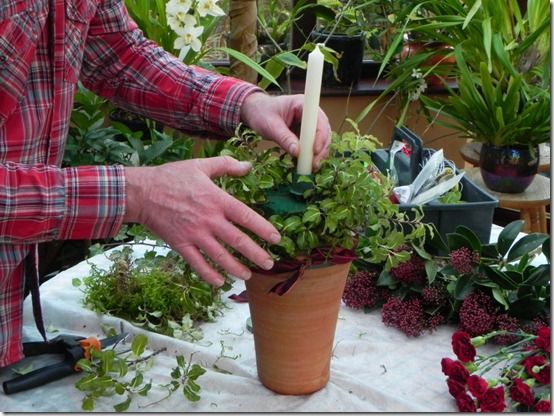
9. Next I started to fill between the pittosporum with a few sprigs of Viburnum tinus. Mine has very few flowerbuds his year; in a good year you could easily use more in this arrangement.
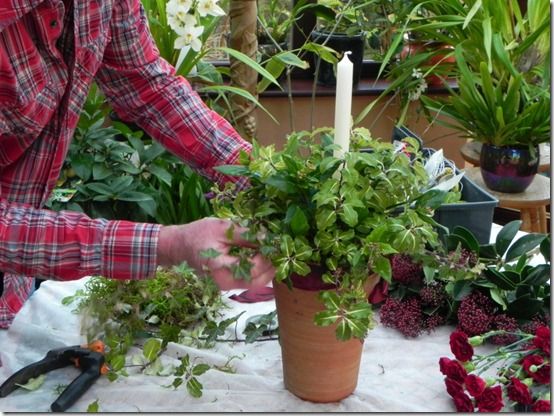
10. Now the feature of my arrangement is really the clusters of dark red buds of Skimmia japonica ‘Rubella’. This plant needs a shady spot in the garden, but it’s worth growing for these flowerbuds at this time of the year. I must admit I cheated and bought a new plant, and snipped a few bits off. You can buy it as a cut flower, but often it’s more expensive than buying a plant.

11. Now the flowers: just one bunch of spray carnations. Cut the blooms and buds off the stems with around 10-15cm, 4-6 inches of stem on each piece. I chose those very deep crimson ones; I like them a lot better than the scarlet “Santa’s coat” shade.
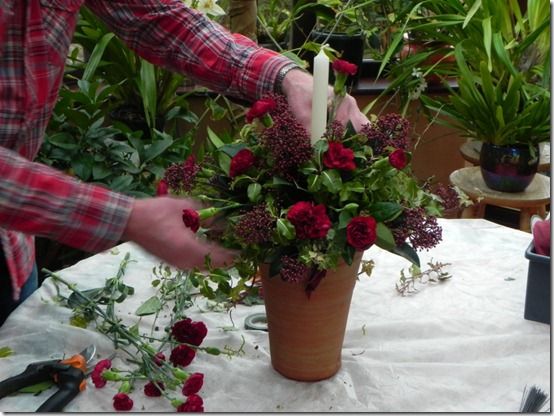
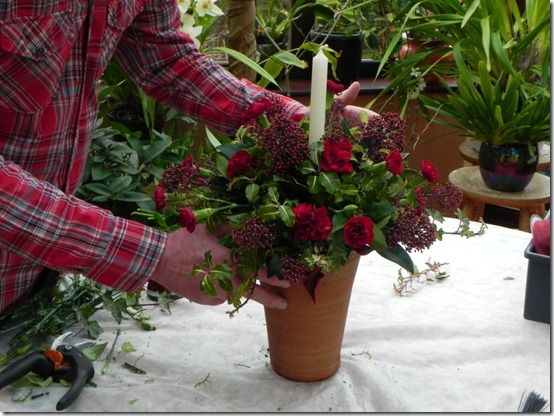
12. Now pop the carnations into the arrangement at different levels; some deep, and some showering out. Keep the effect loose and elegant.

13. So that’s it – simple and effective. Don’t stand it on a polished table without a mat. Don’t let the family play with the candle wax. Occasionally put the arrangement on the draining board and add a little water. I would expect this to last in great condition for at least two weeks.
14. Looks pretty good in position. The benefit to you: bragging rights. You’ve earned yourself the right to bore all guests senseless with your floral achievement. Don’t think you will do that? What do you think the wine’s there for!
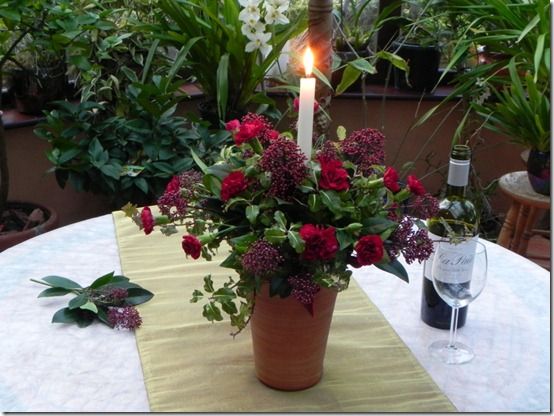
Merry Christmas!


