
Are you are a photographer or a Photoshopper? Modern photographers often complain that they spend more time in front of a screen moving sliders around than they do actually taking pictures, but it doesn't have to be that way. If you are keen to keep your editing and processing time to the minimum, here is a simple guide to doing an easy but effective black and white conversion in Lightroom.
1) Open the raw image and crop
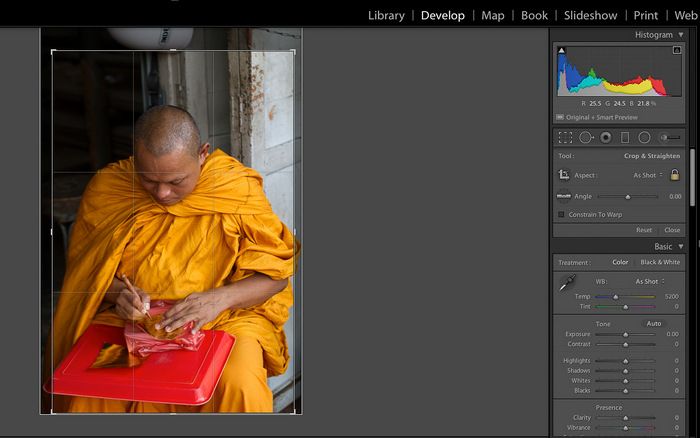
We've used Lightroom for this tutorial as it's incredibly powerful but relatively easy to use, but other programs have similar tools. Begin by opening your raw file in the Develop section and crop away any unwanted areas to improve composition. You can set the crop size or go freehand, and the Lightroom crop tool makes it much easier to straighten edges and horizons than the overcomplex options in Photoshop CS.
2) Tweak exposure and lose colour
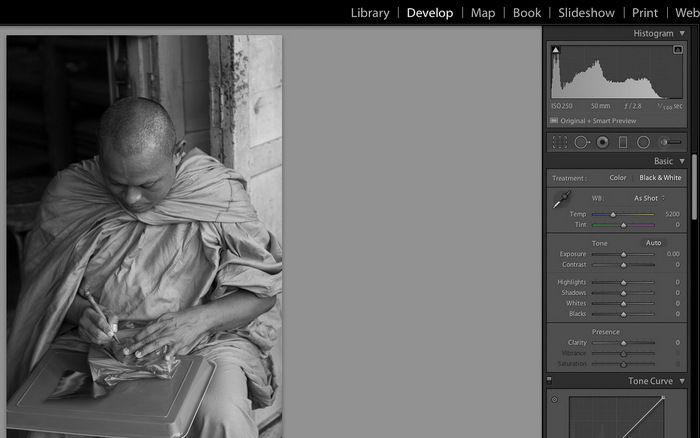
The top right histogram chart gives an instant idea of the exposure so you can either drag the Exposure slider to enhance it, or manually move the histogram around. This image works well in black and white or colour, but we are going to focus on the tones and patterns by going for black and white. So, click the black and white option. This is a starting point, but you usually need to adjust the individual colour sliders (in the HSL/Color/B&W) panel for the best results.
3) Adjust clarity and tweak the Tone Curve
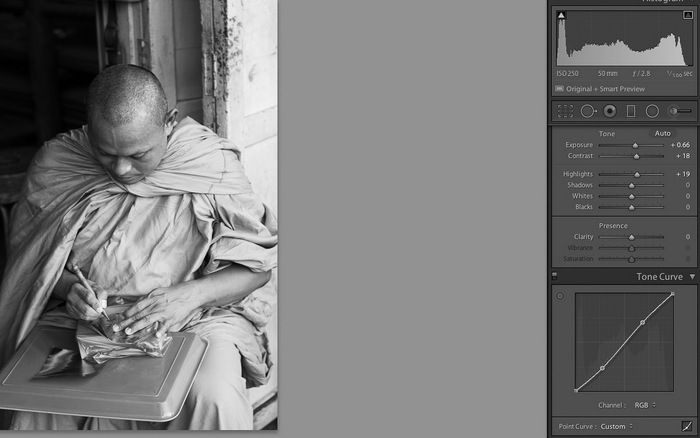
There are lots of tools here but with the clock ticking, we push the Clarity slider a bit to add some useful contrast to edges (use it sparingly). Same goes for the Contrast slider. Then tweak the Tone Curve – again, less is more here, so a gentle S shape usually delivers the goods. Watch the shape of the histogram change as you are working.
4) Sharpen and reduce noise
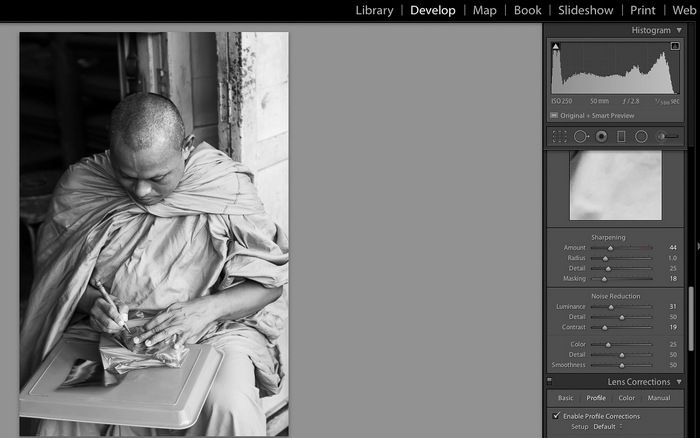
Most raw images benefit from some sharpening (it's applied automatically to JPEGs) but again, use the sliders here sparingly. If your image is soft to begin with, owing to poor focussing or camera technique, you can't do much to salvage it, sadly (zoom in at 1:1 to check for sharpness). Noise reduction will be needed if you shot at higher ISOs or have had to fix underexposure, but don't go too far – faces, for example, can easily take on a horrible 'waxy' look.
5) Finishing touches
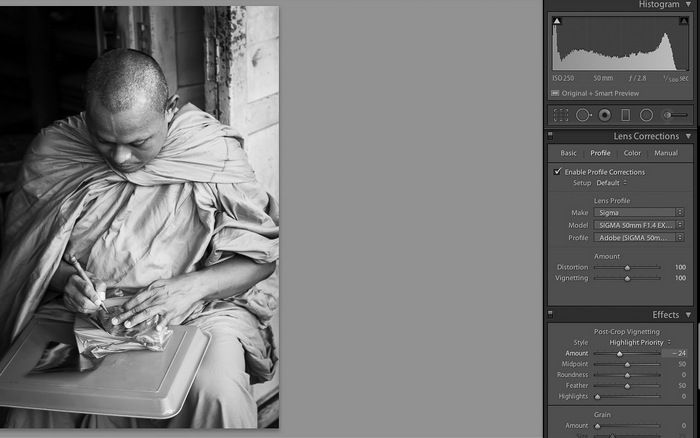
We're almost done. It's worth clicking on lens correction to rectify any distortion. You can also focus attention on the subject by using Post Crop Vignetting to darken the edges but don't get carried away, and experiment with the options for the nicest effect. Finally, save out the image as a TIFF or JPEG by going to File/Export. You can also apply further sharpening here, depending on whether you are saving for screen or print.
If you you would like to learn more about editing in Lightroom why not take David Taylor’s 4 week online photography course on an Introduction to Black & White Photography


